
Setting Up Remote Backup for macOS
macOS has a magical feature called "Time Machine". When this feature is activated, you can roll back any file in the system to any previous state. In other words, macOS archives the entire state of your system at regular intervals. Using this feature typically requires regularly plugging in a hard drive. In this article, I achieved seamless macOS backup within the local network by configuring some network protocols.
Taking this blog post I'm writing as an example, after opening Time Machine, you'll see this view:
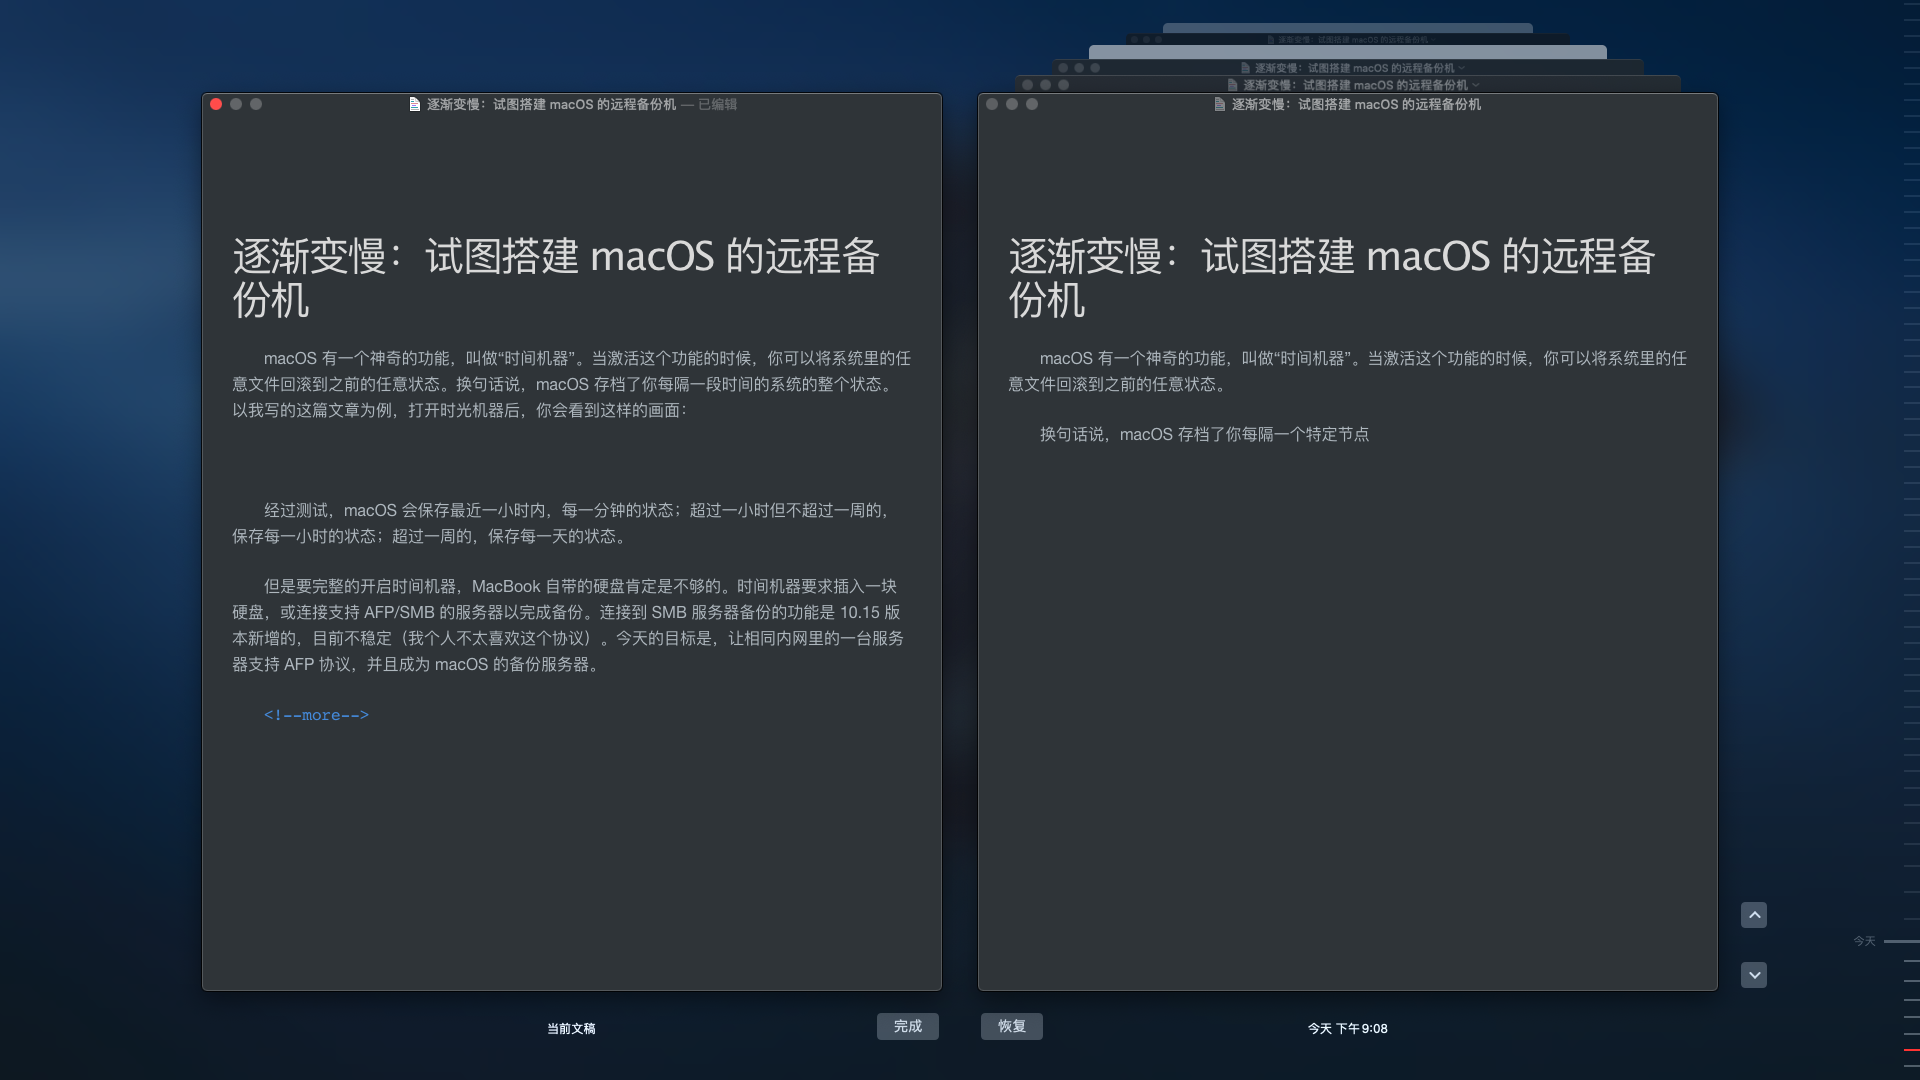
After testing, macOS saves every file version after each manual save.
However, to fully enable Time Machine, the built-in hard drive of a MacBook is definitely not enough. Time Machine requires plugging in a hard drive or connecting to a server that supports AFP/SMB protocols to complete backups. The ability to backup to SMB servers is a new feature in version 10.15, which is currently unstable (I personally don't like this protocol much). Today's goal is to make a server on the same local network support the AFP protocol and become a backup server for macOS.
OpenWRT Putting Old Hardware to Good Use
As mentioned in previous articles, I bought this router that used to be a mining machine on Xianyu (Chinese second-hand platform), and I love it dearly. When I first got it in June, I wanted to try using the router to build a remote backup machine. But after many tests, I eventually gave up.
Below I'll briefly introduce several approaches and why I abandoned them.
Netatalk
Using Netatalk can disguise a Linux machine as various devices supporting AFP, including iMac, Airport, etc. After installing Netatalk on the router, the 32MB flash memory was significantly reduced. And no matter what I tried, my MacBook just couldn't recognize it. I finally abandoned the direct impersonation approach.
SMB
By setting up an SMB server, backups are also possible. However, in the various beta versions of macOS 10.15, only a brief version successfully recognized the server. This approach might need to wait until Catalina's official release next month. Temporarily abandoned.
Disk Image
This was a brain-storm solution I came up with. Create a virtual disk image in "Disk Utility", then transfer it to the SMB server's disk. Connect to the SMB server on the MacBook, then mount the image. Backup was successful, but the speed was unbearably slow and connections often dropped. Finally abandoned.
Finding a Host Machine
Personal connections are very important. Through acting cute and selling my appearance unbreakable plastic friendship, I got access to an Ubuntu virtual machine on a senior's Hackintosh located in Zhiyuan Building. Installing Netatalk service on Ubuntu is very simple. After a few minutes of setup, Ubuntu successfully impersonated a Time Capsule.
AFP functionality requires opening port 548. Here's where the problem arose: this virtual machine's host is a macOS system, and macOS occupies port 548 by default. Initially, I planned to solve this directly by assigning a virtual network card, but since the senior lacked skills thought it wasn't feasible, this approach also failed. Just when I was about to give up, he proposed four words - network penetration!

Life is hard indeed. If only we had money, we could just buy an AirPort and be done with it. Just when us poor folks were finally seeing light after going through countless difficulties, we discovered we were missing one more tribulation out of the eighty-one. Oh well, I turned to another classmate and got a virtual server that obtained an independent IP through a virtual network card as a jump server.
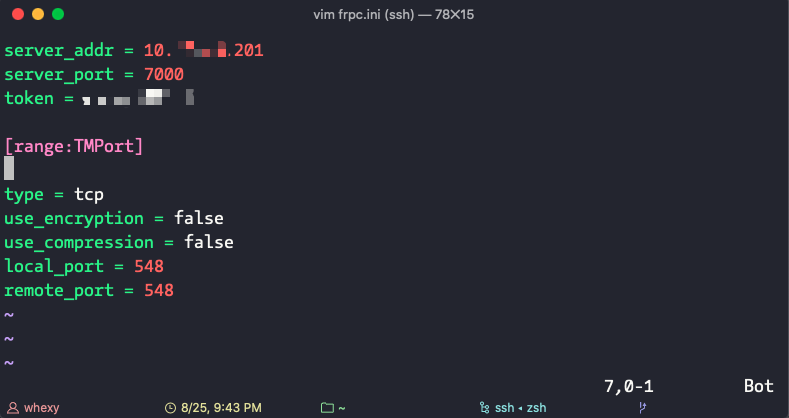
Configuring frp network penetration is relatively simple. Just follow the configuration shown in this diagram.
Successful Setup
From getting the Ubuntu server to setting up the complete service, I surprisingly didn't encounter any obstacles. When the backup started, I thought: "Is this it?"
Indeed, that was it. This was the end.

The AP speed in the school dormitory area is very slow (dormitory area --> Zhiyuan Building). The first backup took a full 6 hours. But after setting up this service, as long as the MacBook is connected to the school's internal network, it will automatically backup every hour. These backups are seamless, taking only a few seconds each time.
Setting up this service fulfilled a wish I had been accumulating for half a year, so I'm writing a blog post to record it.
© LICENSED UNDER CC BY-NC-SA 4.0